Introduction to Continuity Testing
When working with electrical circuits, ensuring that connections are intact and components are functioning correctly is critical. One of the most straightforward yet essential techniques for checking the integrity of a circuit is continuity testing. Knowing how to continuity test multimeter properly can save you time, prevent errors, and increase safety when diagnosing electrical issues. Continuity testing helps determine whether a circuit allows current to flow from one point to another without interruptions, which can reveal broken wires, faulty connections, or damaged components.
Understanding the Basics of a Multimeter
A multimeter is a versatile tool used to measure voltage, current, and resistance. Most modern multimeters also feature a continuity test function, which is specifically designed to check if there is an unbroken path for electricity to travel. Understanding your multimeter’s settings and symbols is key before performing any tests. On many devices, the continuity function is represented by a diode symbol or a sound wave icon. This setting allows the multimeter to alert the user either visually or audibly when continuity is detected.
Step-by-Step Guide on How to Continuity Test Multimeter
- Safety First: Before beginning, ensure that the circuit you intend to test is powered off. Continuity testing a live circuit can damage the multimeter or pose a safety hazard. If you are testing components removed from a circuit, confirm that they are not connected to a power source.
- Set Up Your Multimeter: Turn the dial on your multimeter to the continuity setting. Some multimeters automatically switch to resistance measurement when set to continuity. Make sure you know how your specific multimeter functions to avoid confusion.
- Prepare the Probes: Multimeter probes typically have a red and black lead. Connect the red lead to the positive terminal and the black lead to the negative or common terminal. Proper probe placement ensures accurate readings and prevents errors during testing.
- Test the Multimeter: Before testing the circuit, touch the tips of the probes together. The multimeter should produce a sound or display a reading close to zero, confirming that it is functioning correctly. This step is often overlooked but ensures reliability during actual testing.
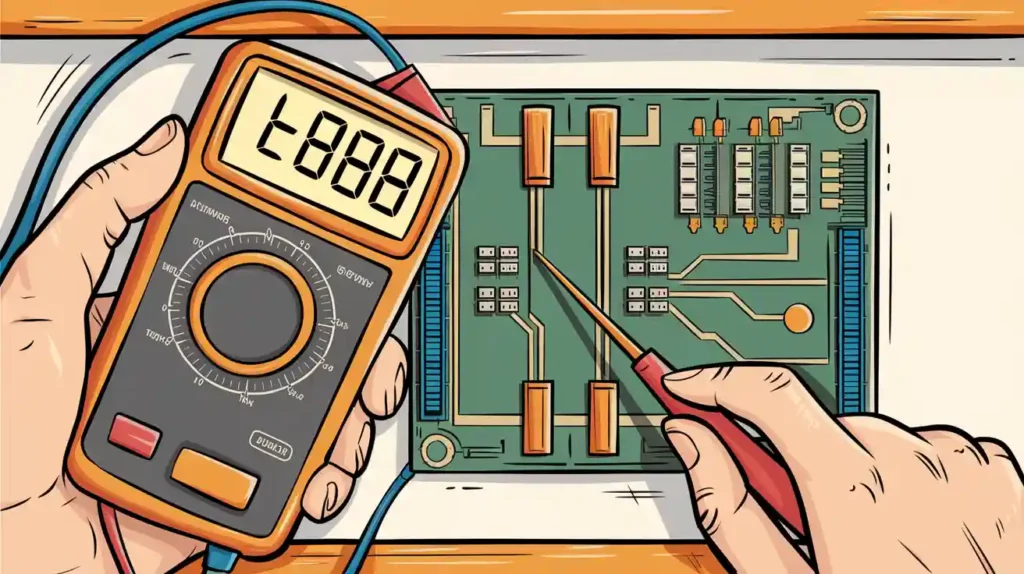
- Perform the Continuity Test: Place the probes on the two points of the circuit you want to check. If the multimeter beeps or shows a near-zero reading, the circuit has continuity, meaning the path is complete. If there is no sound or the display shows infinite resistance, the path is broken.
- Interpret the Results: Understanding what your readings mean is crucial. A beeping multimeter or a zero reading indicates that electricity can flow without interruption. A non-beeping multimeter or an infinite reading suggests a break in the circuit, which may require repair or replacement of the component.
Practical Applications of Continuity Testing
Knowing how to continuity test multimeter is useful in a variety of scenarios. For electricians, it helps identify broken wires, malfunctioning switches, or faulty fuses. For hobbyists or electronics enthusiasts, continuity testing can confirm connections on circuit boards or verify that newly soldered joints are correctly made. Automotive technicians also rely on continuity testing to trace wiring problems and diagnose sensor or connector failures in vehicles.
Tips for Accurate Continuity Testing
To ensure accurate results, always double-check that the multimeter is set to the correct mode. Keep the probes clean and free of oxidation or dirt, as this can affect readings. Avoid applying excessive force, which could damage delicate components. If a component has multiple paths for current, test each path individually to get a complete understanding of its condition.
Conclusion
Learning how to continuity test multimeter is a fundamental skill for anyone working with electrical systems. It provides a quick, reliable way to identify breaks in circuits, verify connections, and troubleshoot electrical problems effectively. By understanding your multimeter, following proper safety procedures, and interpreting results correctly, continuity testing can become an invaluable part of your electrical toolkit. Whether you are a professional electrician, a DIY enthusiast, or a student learning electronics, mastering continuity testing will improve your ability to diagnose and maintain electrical systems efficiently.
Follow Us On Tiktok For More Information: