Wifi connectivity at every single place of your abode be it your bedroom, living room, kitchen or lobby area is a basic necessity for today’s digital living. But the router itself cannot offer you complete connectivity because the routers can provide coverage to a limited area. So if you own a home with a larger carpet area or with multiple floors then you should definitely consider investing in a Wavlink AX1800 setup.
It is a wifi range extender that will help you with elimination of all connectivity problems and in return will offer you seamless wifi connectivity in every single corner of your abode. But to fetch its benefits, you need to learn about its setup process. The process for the same is simple, straightforward and easy. All you need is the right guidance. So in this particular post we’ll be sharing three different Wavlink AX1800 setup methods. You can select the one that you find simple. With no further delay, let’s check out the steps for the very first Wifi protected setup method.
Wavlink AX1800 Setup: WPS Method
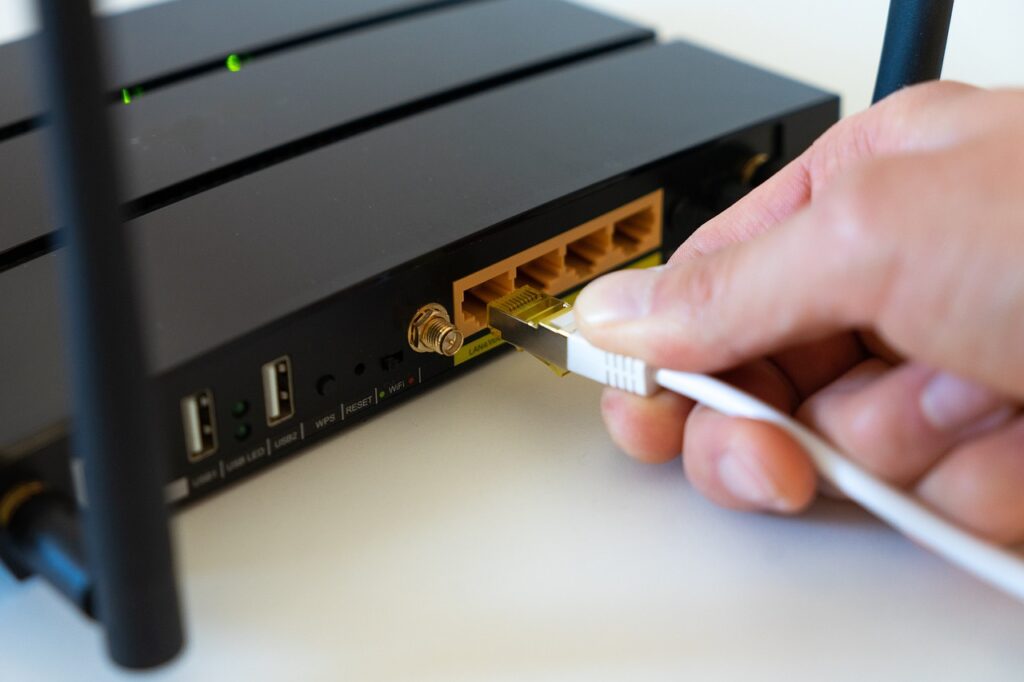
First up, bring your Wavlink AX1800 device to the same area as your router. Plug it in a well working power outlet. Turn on the power button. With this the wifi signal repeater will start its booting process. Once it completes the same, you’ll get an indication through smart light. The light will turn stable.
Now click the wifi protected setup button on your router. The router’s WPS light should glow up. Thereafter click the wifi protected setup button of your AX1800 range extender. Its WPS light should also glow up. Now wait for these smart lights to get stable. It will take up sometime. Once stabilized, it means you have successfully completed the Wavlink AX1800 setup.
Now all you have to do is, unplug the AX1800 and replug it in an area which is 50 percent away from your router and the wifi dead zone area. The gadgets will sync back together automatically.
Extender Installation Via Web GUI
Using a web browser for Wavlink AX1800 setup is a wise choice because it allows you to configure various settings deeply. The accurate installation steps are as follows:
- First plug the AX1800 device in an area where your router’s signals are not below 50 percent. This particular area should also be close to the wifi dead zone.
- Now after the device starts up properly, go and grab a smart device. Activate its wifi. As you do so, a list will open up that contains the name of all available networks. From this list link to the network of your AX1800 device.
- Thereafter, on the exact same device open internet explorer or any other internet browser like chrome, safari, edge or firefox.
- Moving further, in the URL column of the chosen browser you have to type IP address. It is http://192.168.10.1. Press Enter key.
- With this the login window becomes accessible. Here give the right login information. By default it is:
- Username: admin
- Password: admin
- Finally, click on login. With this the Wavlink AX1800 setup panel becomes accessible. Now you’ll see the interface will automatically provide you a list of available networks. From this list you need to pick your router’s identity. Then fill up its passkey. Tap on Connect. And with that the setup completes successfully.
Quick Installation Via Wavlink App
For wifi protected setup method your router must come with WPS compatibility. For a web browser based setup you require a little more time but with the Wavlink application you can finish the Wavlink AX1800 setup very easily and just from the convenience of your mobile phone. So the steps for it are:
- First on your device not particularly the mobile phone but on any smart device install the Wavlink app.
- Users who already have the application, make sure that it doesn’t have any pending updates and is an authentic application.
- Now power on the Wavlink AX1800 extender. Once its smart light glows well, take up your smart device. Activate its wifi. Link to the network of AX1800. The accurate network identity is scribed on the back side of the extender. So take the notes from there.
- Thereafter, open the app. Agree to the terms and conditions. Now put up login information. Tap on Login.
- Moving forward, select the repeater mode. With this the application starts scanning for the networks.
- Finally, pick the one that resonates with your router. Input the password. Tap on Connect.
- Lastly, to get the most out of your Wavlink AX1800 setup, you should look for the available firmware updates if any. If available, then begin with the installation then and there and only then log out of the app.
With this we hope you can now easily conduct the setup on your own. In case of any query do not hesitate to connect with the experts.